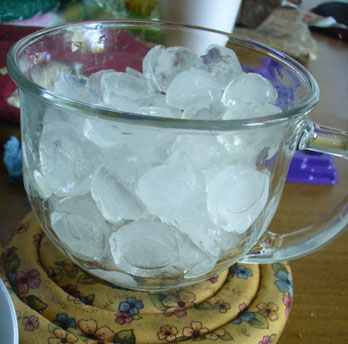
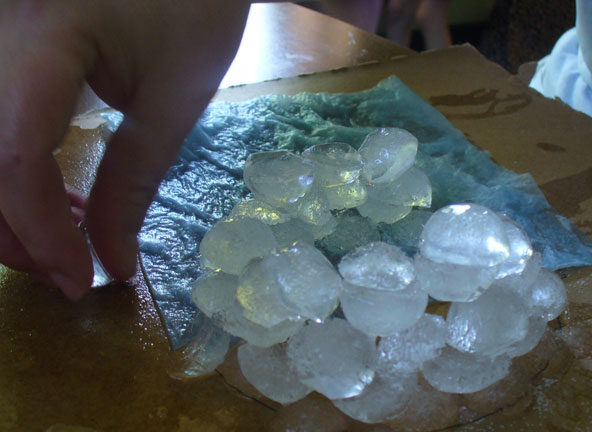
We happened to do this right after Easter. We had leftover
packaging from Cadbury mini-eggs. I filled the bottom container
with water, put the top on, and stacked them in the fridge
to make mini-ice cubes.

You
could probably do this with regular ice or use specialty ice
cube trays to make some. We made a lot. In fact, this cut
was heaping when we started, plus we had two trays still full.
I took several days to make ice, because i wanted to have
enough.
Next,
i drew a pattern on a piece of cardboard. You can use the
printout that i made if
you want. I expect it'll get all soggy and blurry, since it
is printed. I recommend putting down some napkins or even
a thin towel to catch some of the melt-off that is bound to
happen.
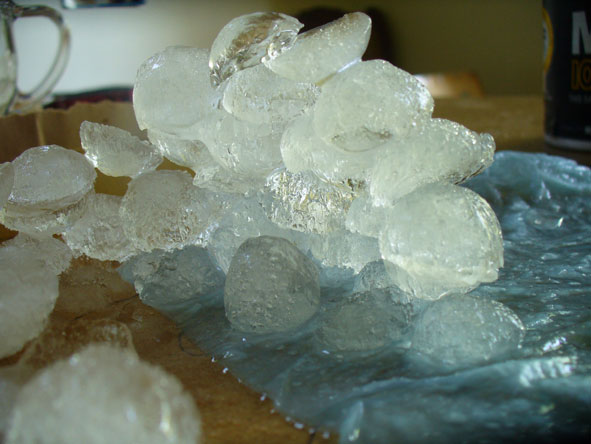
Make
a ring of salt on the napkin and then place your first layer
of ice. Put salt over several cubes and begin building the
second layer. Don't salt the entire circle at once, because
you won't be able to place ice all the way around the circle
at one time. After you sprinkle salt, hold a cube where you
want it. You'll need to hold it there for a few seconds and
then it should stick.
Salt
makes ice melt. But ice on ice is cold, so it will refreeze
again, as long as you didn't use too much ice. This is a great
science experiment that goes along with this lesson. You can
also talk about how salt is put on the roads in the winter
to melt ice (at least in the north it is!).
After
about four layers, begin moving in towards the center, just
slightly, though, so the whole thing doesn't topple. Also,
after about four layers, you can cover over the hole that
was left for the door and begin making a complete circle.
Leave a hole in the top and build the doorway.
Ours
didn't quite make it past this point. Three-year-olds don't
quite get the concept of "Don't bump the table."
Even if it is said over and over again. ;)
Anyway,
this is a fun activity and we had a blast doing it! As always,
send me pictures if you do it, too, and i'll post them!
|